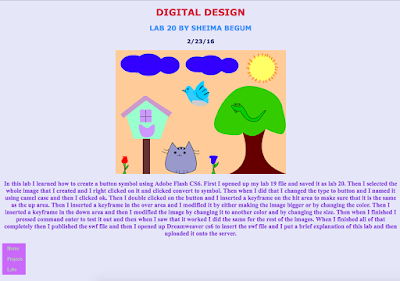
In this lab I learned how to create a button symbol using Adobe Flash CS6. First I opened up my lab 19 file and saved it as lab 20. Then I selected the whole image that I created and I right clicked on it and clicked convert to symbol. Then when I did that I changed the type to button and I named it using camel case and then I clicked ok. Then I double clicked on the button and I inserted a keyframe on the hit area to make sure that it is the same as the up area. Then I inserted a keyframe in the over area and I modified it by either making the image bigger or by changing the color. Then I inserted a keyframe in the down area and then I modified the image by changing it to another color and by changing the size. Then when I finished I pressed command enter to test it out and then when I saw that it worked I did the same for the rest of the images. When I finished all of that completely then I published the swf file and then I opened up Dreamweaver CS6 and created the base html document for this lab by putting the 3 headings, the title, the navigation bar, and my overall.css then I inserted the swf file and I put a brief explanation of this lab and then uploaded it onto the server. I really liked this lab because it was fun to create the buttons and it was easy and not complicated. I liked trying to modify the images in the down and over area. This skill will help me in the future when I use Adobe Flash CS6 for my labs and projects and it will improve the content.
No comments:
Post a Comment